How to use a Cold Brew Maker
Brewing Guide: Cold Brew Maker
Cold brew coffee offers a smooth, less acidic alternative to traditional hot brewing methods. Using a dedicated cold brew maker simplifies the process and ensures consistent results. Here’s your guide:
What you’ll need:
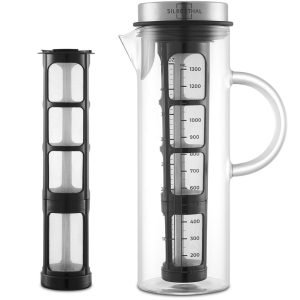
- Cold Brew Maker: Choose a maker with a filter and a carafe.
- Coarsely Ground Coffee: Use a burr grinder to achieve a consistent, coarse grind.
- Cold Filtered Water: Use filtered water for the best flavor.
- Kitchen Scale: For accurate coffee-to-water ratios.
Instructions:
- Grind the Coffee: Grind the desired amount of coffee beans. A common starting point is a 1:8 coffee-to-water ratio (e.g., 100g coffee to 800g water), but adjust to your taste.
- Add Coffee to the Maker: Place the ground coffee in the filter basket of your cold brew maker.
- Add Water: Slowly pour cold filtered water over the grounds.
- Seal and Refrigerate: Securely seal the maker and refrigerate for 12-24 hours.
- Remove the Filter: After the steeping time, carefully remove the filter basket containing the used coffee grounds.
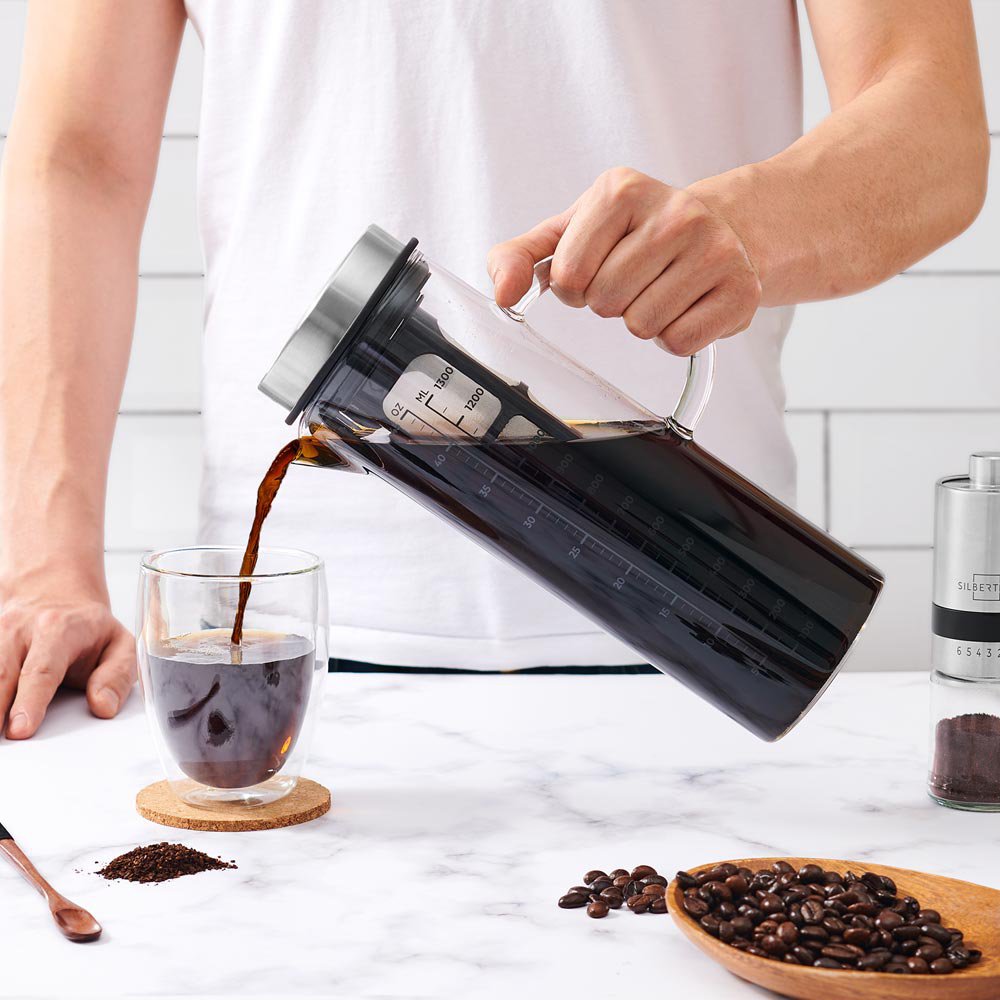
Dilute and Enjoy: Pour the concentrated cold brew into a glass over ice. Dilute with water or milk to your preferred strength.
Tips for the Perfect Cold Brew:
- Grind Size: Experiment with grind size to find what works best for your coffee and your desired strength. A coarser grind generally results in less bitterness.
- Steeping Time: Adjust the steeping time based on your preference. Longer steeping times will result in a stronger, more concentrated brew.
Cleaning: Clean your cold brew maker promptly after use to prevent coffee oils from building up.
Enjoy your refreshing and flavorful cold brew!
Note: These are general guidelines. Feel free to experiment with different coffee beans, grind sizes, and steeping times to find your perfect cold brew recipe.
I hope this brewing guide helps you enjoy delicious cold brew coffee from your maker! Let me know if you have any other questions.
-
Cold brew maker
€34.95